WordPress Manual Installation
Learn how to install WordPress manually
In this tutorial, we are going to explain you, step by step how to make installation of the latest WordPress version manually. You will create new website from scratch. Guide is aimed at the most experienced webmasters. To complete all steps, will need 10-15 minutes. There are easier ways to install WordPress from beginers as One-click installer and by advanced users using Softaculous auto-installer. Of course sometimes is better to make a manual WordPress installation and configuration.
There are several benefits of manual installation: Well – know the pros and cons of the WordPress platform. Meet with the platform in depth. The knowledge of the platform gives you confidence. In case of need of a troubleshoot. More ways for customization and etc.
Follow the next steps carefully to install WordPress Manually.
Download the WordPress installation package
1. Download WordPress latest version from the official website.
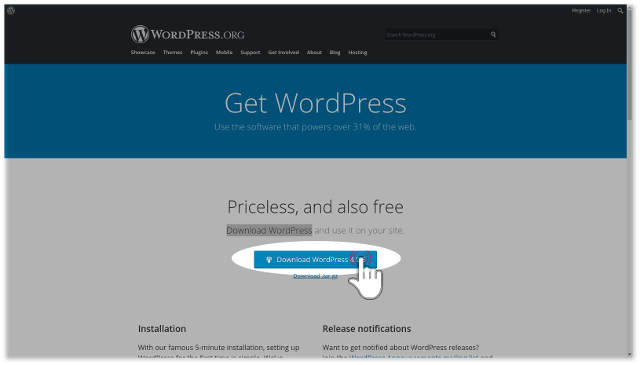
Click on "Download WordPress" button. Save .zip file containing the installation code, on your local device.
Upload the WordPress Files to Your Server
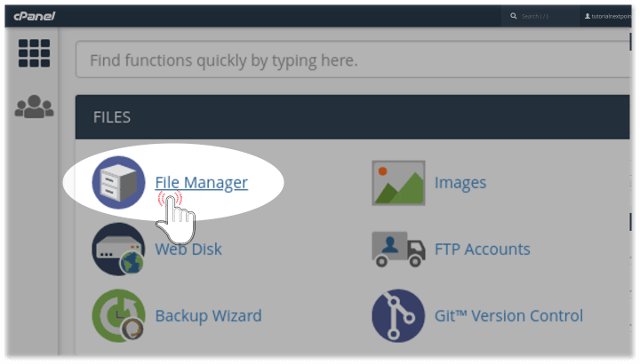
2. Go to your cPanel web hosting account. Open File Manager.
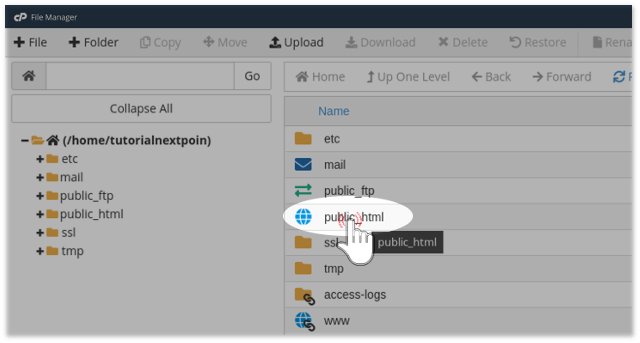
3. Double click on public_html. The directory must to be empty! In case that you see files or folders - "Select All" of them and delete it! Otherwise you risk your WordPress installation to fail or to broke already installed codes. The deletion of all files guranteed that your installation will complete without problems. The deletion of all files guarantee, that your installation will complete without problems.
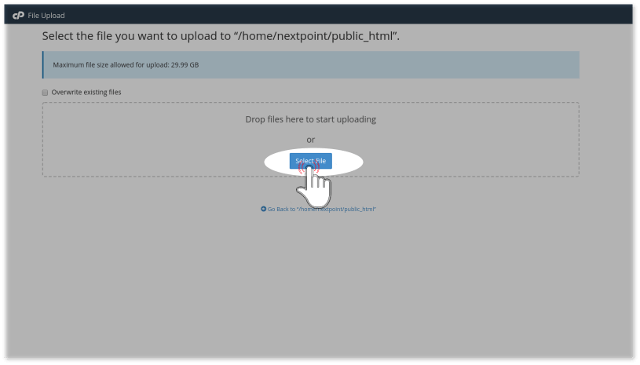
4. Now it's time to Upload the downloaded .zip file from Step-1. Click on Upload button.
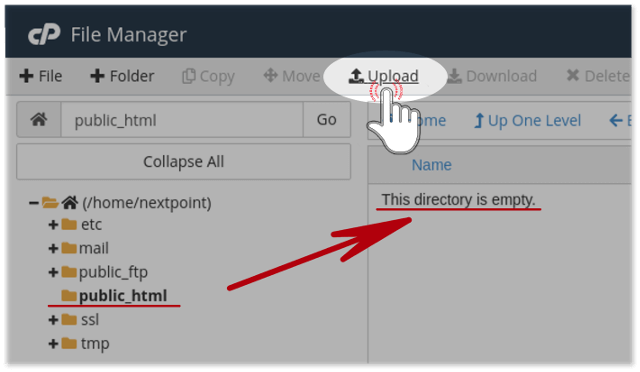
Will be redirected to new window. There Open the .zip file and wait until complete the process. Depending from the your local internet connection speed, this will takes between few seconds and few minutes.
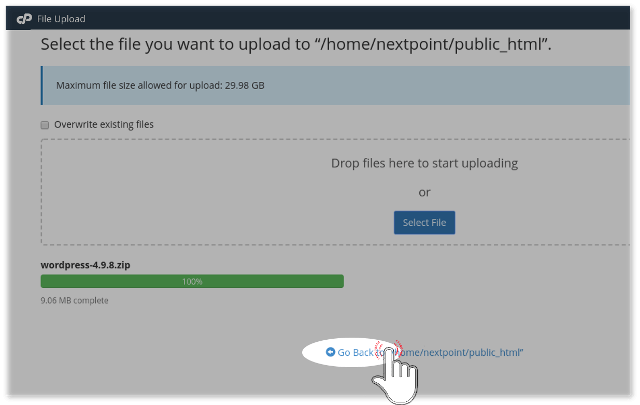
5. After the uploading process is 100% completed and the line bar become green, click on Go Back to.
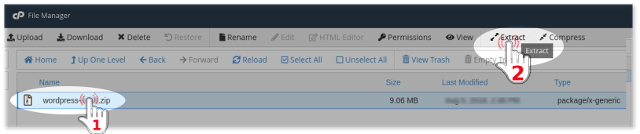
6. Now you see the uploaded .zip file on your screen. It’s time to extract and de-zip it. Click on Extract button.
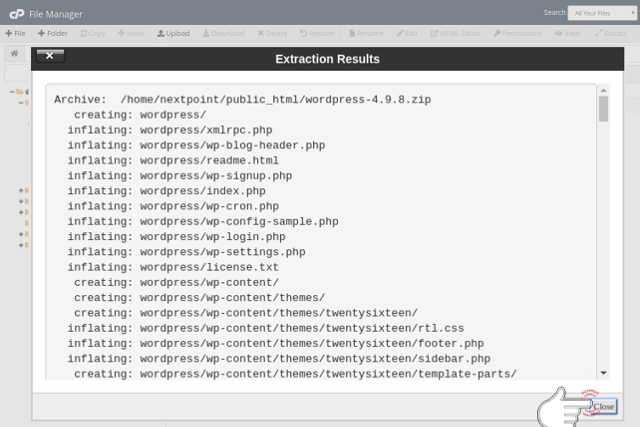
7. After the extraction, close the window.
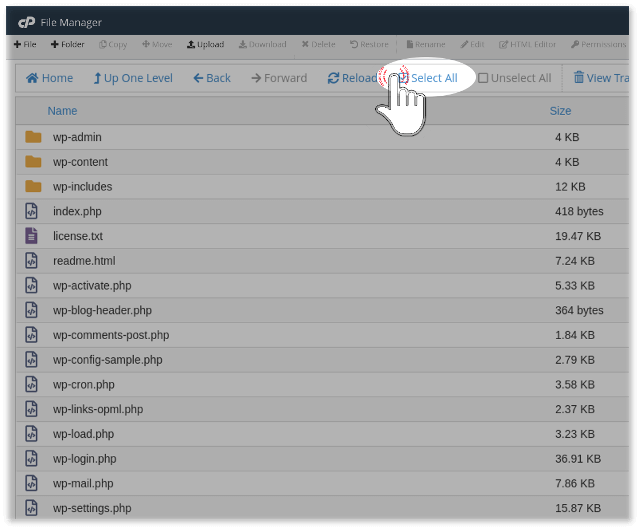
8. The extracted files, now are in folder with name wordpress. You have to move them in your public_html folder. Double click on wordpress folder. Now you'll see the whole source code of WordPress installation. Clcik on Select All.
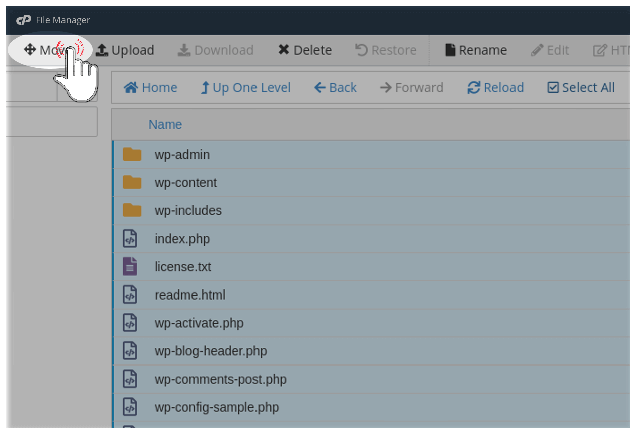
9. After all files are selected, click on Move.
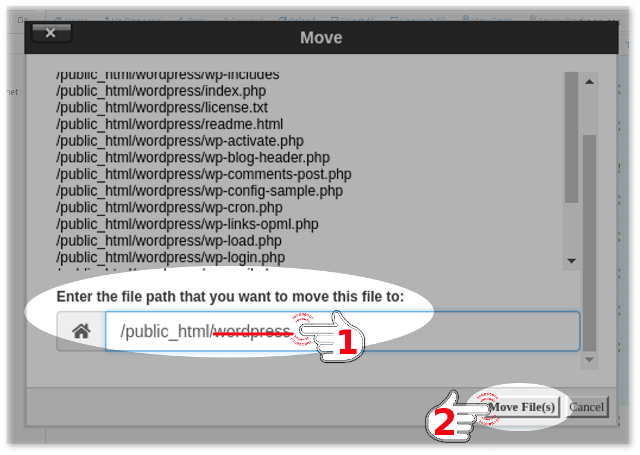
10. Delete wordpress from the path which you want to move this file to, then click to Move File(s) Button.
Return to public_html folder, to ensure that all files are successfully moved. This is a check procedure, in order to guarantee that everything will be fine with the next steps. If you notice irregularities, repeat the steps from the Step-3. In case that all files are moved successfully, continue with the next steps of tutorial.
11. Return to cPanel Main Dashboard.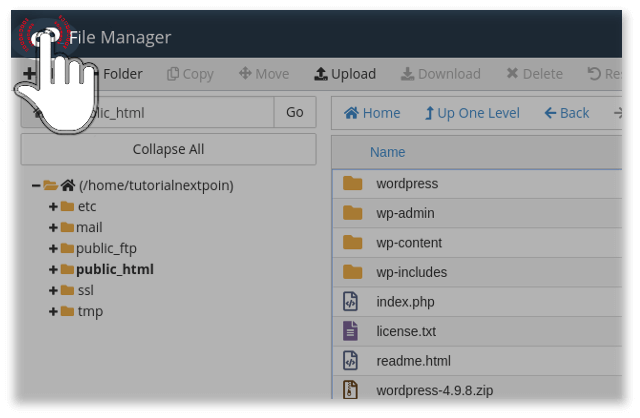
Create a MySQL Database for WordPress
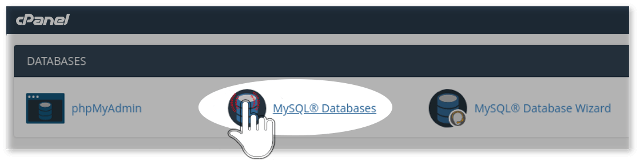
12. When you are on the main cPanel page, go to Databases section and click on MySQL Databases.
Create New Database and New User. Grant All permissions of newly created user to newly created database. If you don't know how to do it. Follow the steps of our tutorial Creating MySQL Database and user. These steps are out of the scope of current tutorial. We assume you have already prepared the database. Now you can continue with the next steps of WordPress installation.
Installation process through WordPress wizard
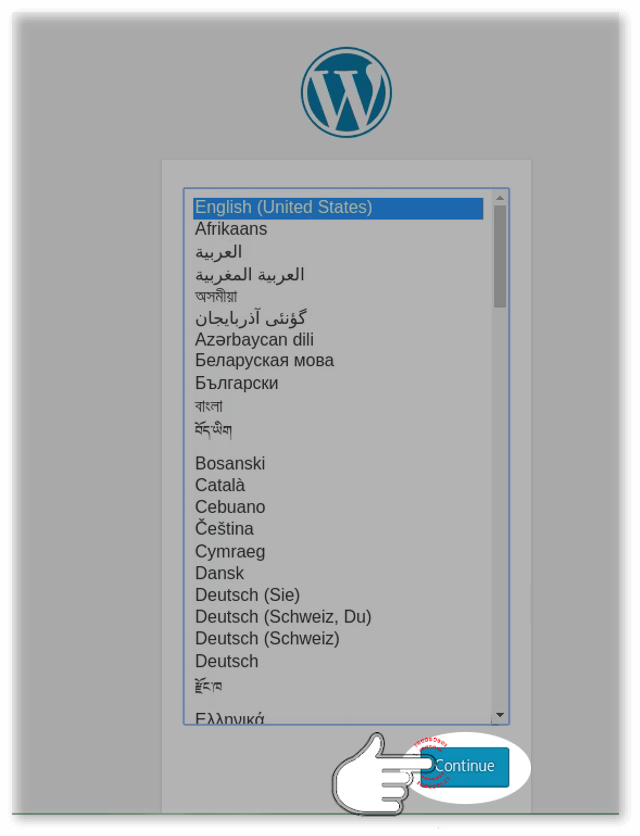
13. In new tab of your web browser, open your domain name. Now you will see the manual installation wizard of WordPress. Choose Language and click on Continue button.
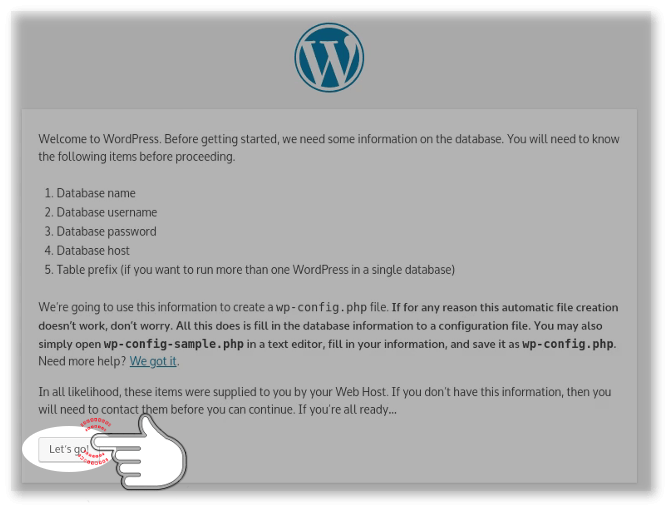
14. Read the Message and click on Lets Go.
15. Fill your database name, database user and password. These are credentials which you created earlier in Step-12 of current tutorial.
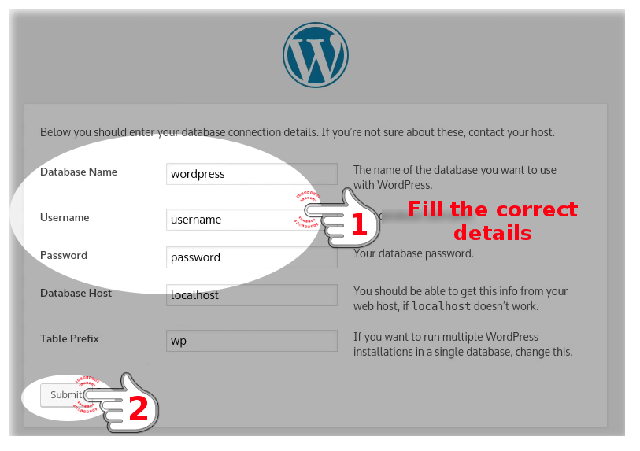
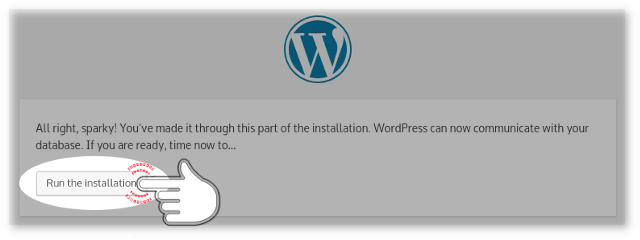
Click ot Submit button. Then click on the "Run the installation" button.
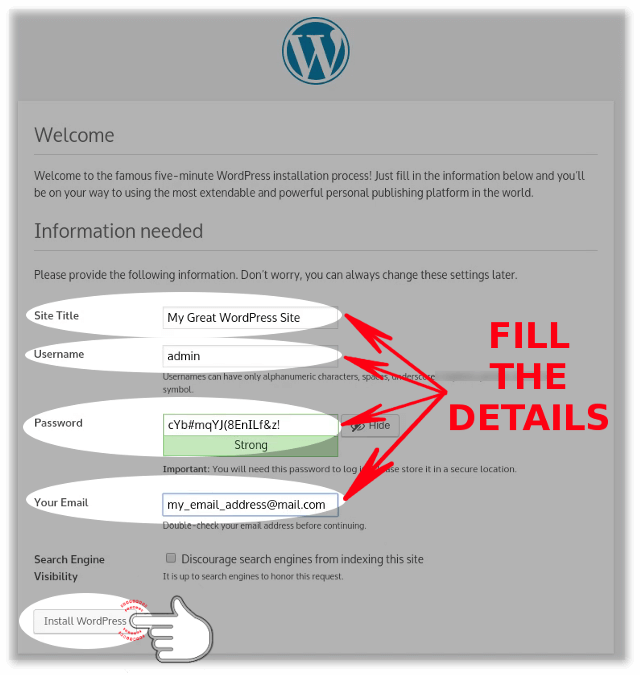
16. Fill the required information. Save the automatically generated password or provide new strong password. This is the WordPress admin password. It's very important to save it! You'll use that password, every time when you need to change something on your website. Now click on Install WordPress button.
17. Succeeded! Almost Done! Click on LogIn. Fill your username and password from the previous step.

Congratulations!
Go to Your Great Wordpress site. to visit your website. Start posting in your new site.
Conclusion
Even though there are differences between WordPress ways of installation, the already installed website have the same functionalities.
Continue to read our next section "Create a Website with WordPress". There show you how to publish a first WordPress post. You'll understand the differences between post and page. Find many additional real life tips and tricks of WordPress management.
Takes top quality wordpress hosting on special price! It will enable you to apply everything learned in this tutorial.
In case that article helped you to answer some of your questions, Share it inside all social networks! Share it inside the forums. Share it into websites. Let all people know, how valuable is the article! That simple step will help us to provide you more articles in the future. Thank you for the support.
This entry was posted in WordPress Installation. Bookmark the permalink.
Additional Readings
- What is WordPress post
- All about WordPress pages
- WordPress Categories
- WordPress Comments